
How to Hydro Dip With Acrylic Paint ? Beginner’s Guide
Hydro dipping with acrylic paint is not rocket science. Infact, it can easily be done. If you are an artist thinking about how you can hydro dip, you are in the right place.
Without wasting much of your time. Let me show you how to hydro dip with acrylic paint like a pro.
Recommended Posts
- 10 Reasons Why Artists Use Acrylic Paint?
- Can Acrylic Paint Be Used on Fabric?
- Are Winsor & Newton Professional Acrylic Paint Good?
What is Hydro Dipping?
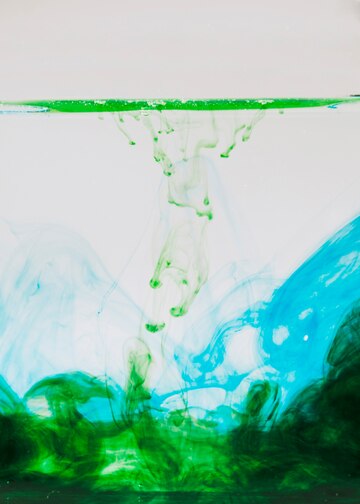
Hydro dipping is a technique where you transfer paint patterns from the surface of water onto an object by submerging it.
This method creates unique, swirling designs that can turn any plain object into a work of art.
The process is surprisingly simple and doesn’t require a lot of specialized equipment, making it accessible for beginners and seasoned crafters alike.
What makes hydro dipping so appealing is its versatility. You can dip almost anything—sneakers, phone cases, helmets, or even furniture! Each dip results in a unique pattern, ensuring no two items look the same.
Whether you’re looking to customize your gear or create stunning home decor, hydro dipping with acrylic paint offers endless creative possibilities.
Can You Use Acrylic Paints for Hydro Dipping?
You can definitely use acrylic paints for hydro dipping. Acrylic paints are versatile, water-based, and come in a wide range of colors, making them perfect for creating unique and vibrant patterns.
When you use acrylics, you get the advantage of their easy availability and the flexibility to mix different shades for custom hues.
Recommended Post: 15 Best Green Acrylic Paints for Artists, Tested & Reviewed
What Do You Need for Hydro Dipping?
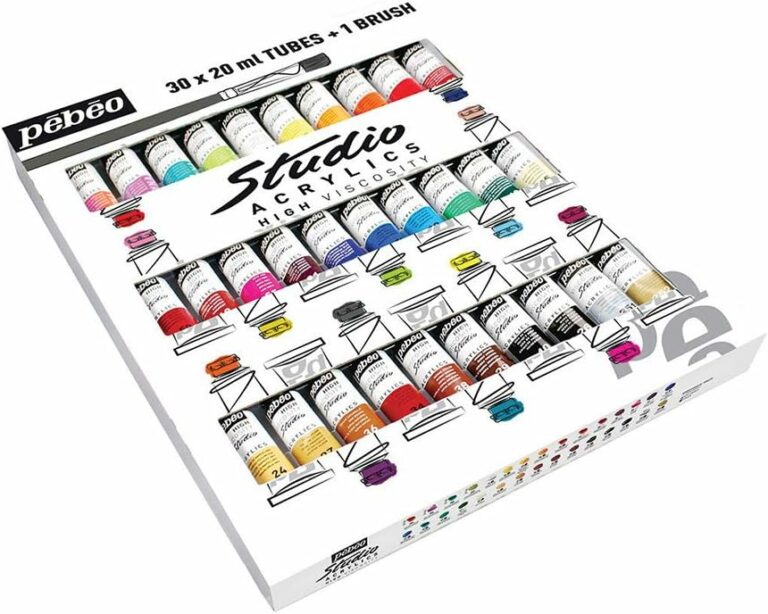
To get started with hydro dipping, you’ll need acrylic paints in the colors of your choice. I recommend Nicpro 14 Colors Large Bulk Acrylic Paint Set.
Ensure they’re water-based for best results. You’ll further need water, preferably room temperature, to fill your container.
Alongside these, have some paint thinner or nail polish remover on hand to help the paint float properly on the water’s surface. Mont Marte Premium Acrylic Flow Medium is one perfect thinner i vouch for. It does not interfere with colour intensity and vibrancy of acrylic paints.
For prepping your item, have some sandpaper to smooth out any rough areas and primer to help the paint adhere better. Painter’s tape is useful for masking off any sections you don’t want to dip. For priming, I suggest you check out Liquitex BASICS Gesso Surface Prep Medium.
Lastly, have a pair of gloves to keep your hands clean, and some old newspapers or a drop cloth to protect your workspace.
Make sure you’ve got a well-ventilated area to work in, as the fumes from paint and thinner can be strong.
Now you’re all set to step into the fun world of hydro dipping!
How to Hydro Dip With Acrylic Paint- Step by Step Guide Using Wood.
- First, prepare your wooden piece by sanding it lightly to guarantee a smooth surface. Wipe off any dust with a damp cloth and let it dry completely.
- Apply a base coat of primer or white acrylic paint and let it dry thoroughly.
- Next, fill a large container with water, making sure it’s deep enough to fully submerge your wooden item. In a well-ventilated area, start dripping acrylic paint onto the water’s surface. You can use multiple colors for a more vibrant effect.
- Use a stick or skewer to gently swirl the paint, creating your desired pattern.
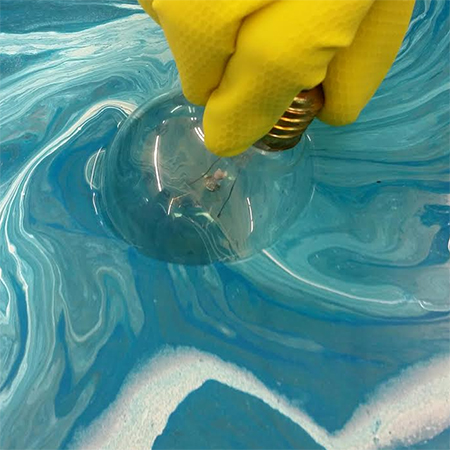
- Now, wearing gloves, slowly dip your wooden item into the water at an angle. Move it steadily to avoid creating air bubbles.
- Once fully submerged, use a stick to clear away excess paint from the water’s surface. Carefully lift the item out, revealing the unique pattern transferred onto the wood.
- Let the item dry completely, then apply a clear sealant to safeguard the design. And there you have it—your very own hydro-dipped wooden masterpiece!
What Cannot Be Hydro Dipped?
Certain materials and surfaces may not be suitable for hydro dipping effectively due to their inability to bond with the paint or withstand the water immersion process.
For example, highly porous materials like untreated wood or fabric may absorb water, causing warping or uneven paint distribution.
Additionally, items with complex, intricate designs or deep recesses can be challenging to dip evenly, resulting in patchy or inconsistent coverage.
Plastic objects can be tricky as well. Not all plastics bond well with acrylic paint, especially those with a glossy or oily surface. To improve adhesion, you might need to sand the surface lightly or use a primer.
Metals can pose challenges if they aren’t properly prepped. Rust or grease on metal surfaces can prevent the paint from adhering properly, leading to peeling or flaking.
Electronics and items with moving parts are also generally unsuitable for hydro dipping. The water immersion process can damage internal components or interfere with the functionality of moving parts.
Lastly, extremely large or heavy objects can be impractical to dip due to difficulties in handling and achieving consistent coverage.
By being aware of what materials to avoid, you can guarantee your hydro dipping projects turn out beautifully.
How Do You Thicken Water for Hydro Dipping?
For successful hydro dipping, you’ll need to thicken the water to guarantee the paint floats properly and transfers evenly to your objects.
To do this, you can use a substance called borax, which is a common household item.
- Start by filling a large container or tub with warm water. The temperature helps the borax dissolve more easily.
- Add one tablespoon of borax for every gallon of water.
- Stir the mixture thoroughly until the borax is completely dissolved. This creates a slightly thicker, more viscous solution, allowing the acrylic paint to float on the surface without sinking.
Another option is using cornstarch.
- Mix one tablespoon of cornstarch with some cold water to make a slurry.
- Then, gradually add this to a pot of boiling water, stirring continuously until it thickens. Allow the mixture to cool before pouring it into your dipping container.
Both methods create the right consistency for hydro dipping. The thicker water helps the paint spread out evenly, ensuring a smooth and consistent transfer to your objects.
Just remember to test the thickness before you start your project, adjusting as needed for the best results.
How Long Does It Take for Hydro Dipping to Dry?
Drying times for hydro dipped objects vary depending on factors like paint type, ambient temperature, and humidity levels.
Typically, acrylic paint can take anywhere from 24 to 48 hours to fully dry.
However, you might notice that the surface feels dry to the touch within a few hours. Don’t be fooled; it’s crucial to allow the paint to cure entirely to guarantee durability and longevity.
To expedite faster drying, place your object in a well-ventilated area.
You can alternatively use a fan to circulate air around the object, but avoid direct heat sources like hair dryers, as they can cause the paint to crack or bubble.
If you’re working in a humid environment, consider using a dehumidifier to help accelerate the drying process.
Another suggestion is to hang your hydro dipped item or place it on a drying rack to allow air to flow freely around it. This prevents any part of the object from staying wet longer than necessary.
Patience is key here; rushing the drying process can ruin your hard work.
Always check the manufacturer’s recommendations for the specific acrylic paint you’re using for the best results.
Final Thoughts
So there you have it—a simple yet mesmerizing way to transform the mundane into the extraordinary.
With hydro dipping and a splash of acrylic paint, you can turn your everyday items into vibrant masterpieces.
Thank you for your time.