
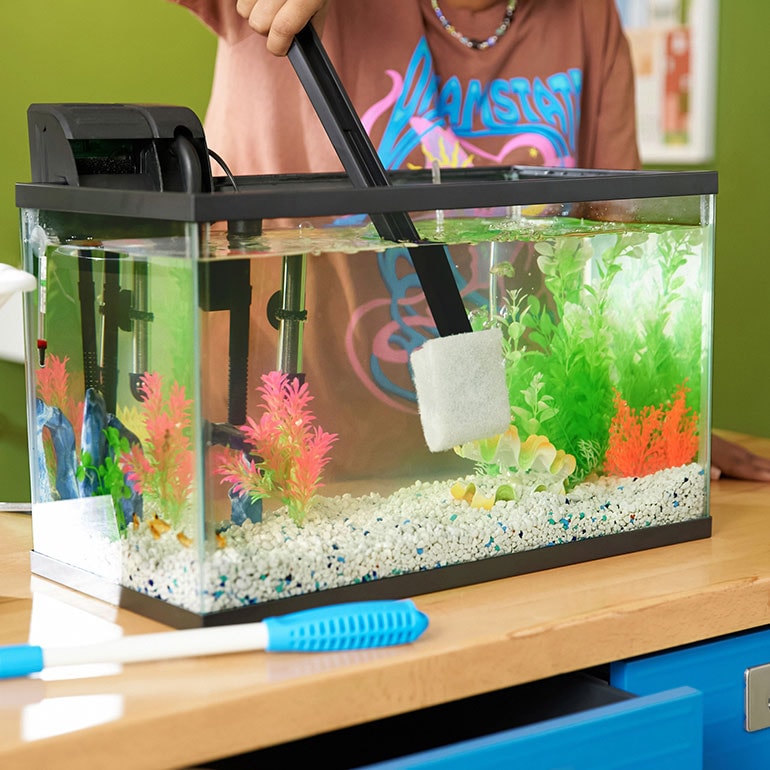
How to Easily Clean Acrylic Aquarium?
When it comes to cleaning your acrylic aquarium, you’re probably aware that it requires a bit more.
You’ve likely tried to clean your acrylic aquarium. But, what’s the best way to tackle the rest of the cleaning process?
You Might Also Like: Is Acrylic Paint Safe for Aquarium?
How to Get Stubborn Algae off an Acrylic Aquarium?
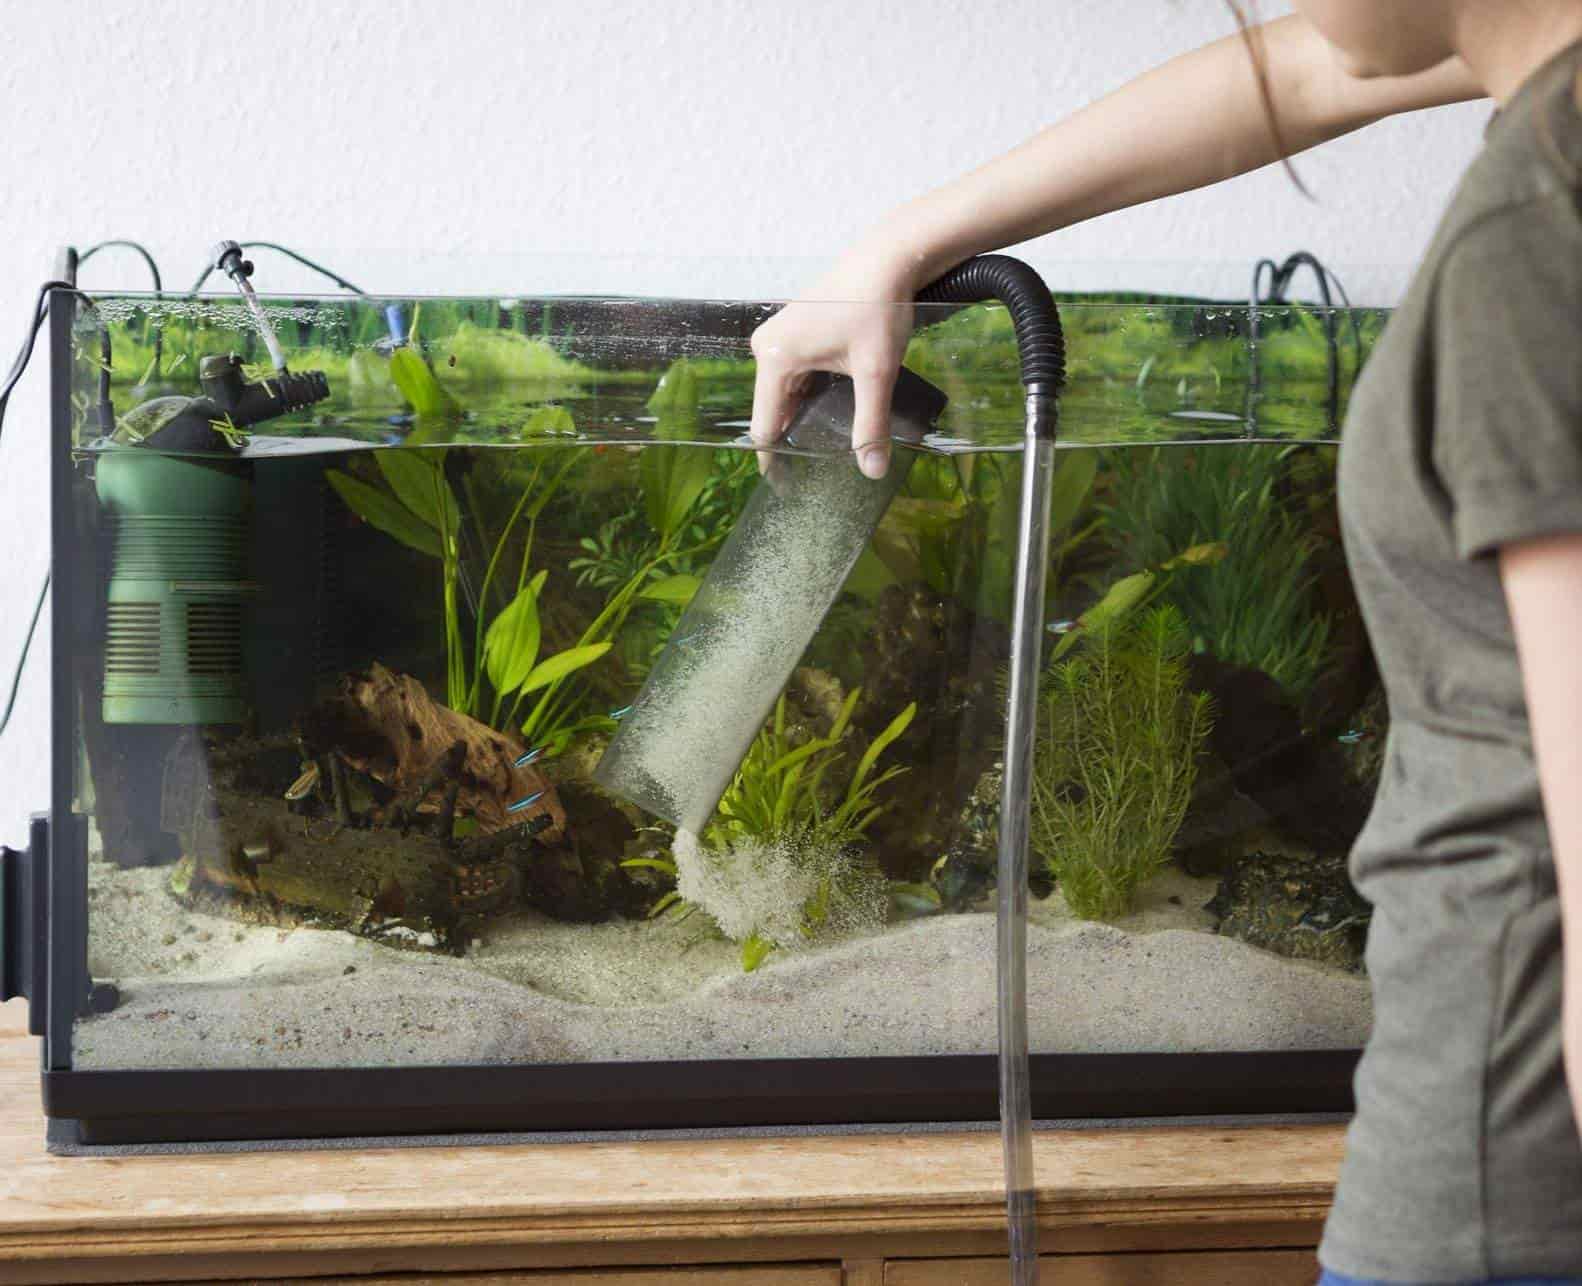
To free your aquarium from algae’s grasp, you’ll need the right tools and techniques.
- Start by using an algae scraper specifically designed for acrylic aquariums. These scrapers typically have a soft, flexible blade that won’t scratch the surface.
- If the algae is particularly stubborn, you can use a magnetic algae scraper, which attaches to the outside of the aquarium and uses a soft, magnetic blade to remove algae from the inside.
- Be careful not to press too hard, as this can scratch the acrylic.
- Another option is to use a soft, lint-free cloth to gently wipe away the algae.
- Avoid using abrasive sponges or scrubbers, as these can damage the acrylic surface.
Recommended Product: FL!PPER Flipper Edge Max Tang Limited Edition Floating Magnetic Aquarium Cleaner
How to Clean an Acrylic Aquarium With Vinegar?
Cleaning an acrylic aquarium with vinegar can be an effective and non-toxic way to remove algae and mineral deposits.
You’ll need to mix 1 part white vinegar with 9 parts water in a spray bottle.
- Spray the solution onto the inside walls of the aquarium, but avoid spraying the plants, decor, or filter media.
- Let it sit for about 10-15 minutes to allow the acid in the vinegar to break down the algae and mineral deposits.
- Use a soft, lint-free cloth or a specialized acrylic cleaner to wipe down the inside walls of the aquarium.
- Avoid using abrasive sponges or scrubbers, as these can scratch the acrylic surface.
- For tough algae stains, you can use an algae scraper or a soft-bristled toothbrush to gently remove them.
- Rinse the cloth thoroughly with dechlorinated water and wipe down the aquarium again to remove any remaining vinegar solution.
- Repeat the process if needed, and then perform a partial water change to dilute any remaining vinegar in the water.
How to Remove Haze From an Acrylic Aquarium?
Now that you’ve removed algae and mineral deposits with a vinegar solution, it’s time to address a common issue in acrylic aquariums: haze.
Haze can be caused by scratches, residue from cleaning products, or build-up of organic compounds.
To remove haze;
- Start by inspecting the aquarium for any scratches or imperfections.
- If you find any, use a scratch remover specifically designed for acrylic surfaces.
- Next, mix a solution of equal parts water and white vinegar in a spray bottle.
- Spray the solution onto the hazy area and let it sit for about 10 minutes.
- Use a soft, lint-free cloth to wipe away the solution and any remaining residue.
- If the haze persists, you can try using a specialized acrylic polish or a product containing cerium oxide.
- Apply the polish according to the manufacturer’s instructions and buff the area with a clean, dry cloth.
- Be gentle and avoid applying too much pressure, as this can scratch the acrylic surface.
How to Clean Outside of Acrylic Aquarium?
To clean the outside of an acrylic aquarium:
- Turn off the aquarium’s power source and unplug it to prevent any accidental start-ups or electrical shocks.
- Remove any decorative items, such as artificial plants or ornaments, from the aquarium to prevent them from getting in the way of the cleaning process.
- Mix a solution of warm water and mild soap or aquarium-safe cleaning product in a bucket.
- Dip a soft, lint-free cloth into the solution, wring it out thoroughly, and wipe down the exterior of the aquarium, starting from the top and working down.
- Avoid using paper towels, scrubbers, or other abrasive materials that can scratch the acrylic.
- For more stubborn stains or algae growth, prepare a solution of equal parts water and white vinegar in a spray bottle.
- Spray the solution onto the affected area, let it sit for about 10 minutes, and then wipe it off with a clean, damp cloth.
- Use a clean, dry cloth to wipe down the aquarium and remove any excess moisture.
For more severe algae build-up or stubborn stains, prepare a solution of 1 part baking soda to 2 parts water to create a paste.
Apply the paste to the affected area using a soft-bristled brush, let it sit for about an hour, and then wipe it off with a clean, damp cloth.
Inspect the aquarium’s exterior for any remaining streaks or smudges and repeat the cleaning process as needed.
How Do I Make My Acrylic Aquarium Clear?
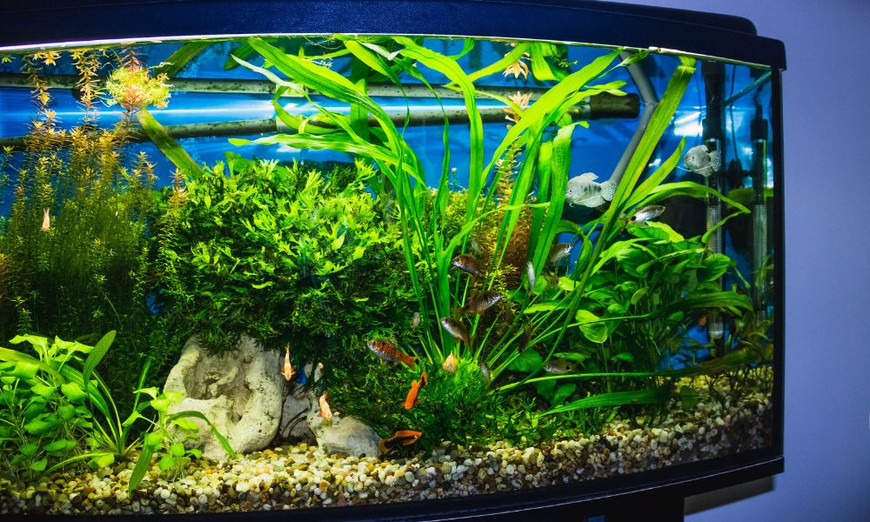
To achieve crystal-clear visibility in your acrylic aquarium, you’ll need to tackle not just the haze, but also the underlying causes of cloudiness.
This means addressing the build up of waste products, excess nutrients, and algae growth that can make your aquarium water cloudy.
Regular water changes are essential to dilute these substances and maintain superior water quality.
You should aim to replace 25-50% of the aquarium water with dechlorinated, temperature-matched new water every week.
In addition to water changes, you’ll need to keep your aquarium’s filter media clean and well-maintained.
This will help remove waste products and excess nutrients from the water, preventing them from contributing to cloudiness.
You should also vacuum the gravel or substrate regularly to remove any accumulated waste and uneaten food.
Best Value for Money: API MARINE ALGAEFIX Algae Control 16-Ounce Bottle
What Makes Acrylic Cloudy?
High Phosphate Levels: Phosphates can fuel algae growth, causing cloudy water. Test phosphate levels and address high readings by reducing phosphate-rich foods, using phosphate-removing media, or increasing water changes. Regularly clean the gravel and decorations to remove accumulated debris and reduce phosphate release.
Overfeeding: Excess food can break down into ammonia, nitrite, and nitrate, causing cloudy water. Bacteria in the tank feed on these compounds, multiplying rapidly and creating a cloudy appearance. To address this, reduce feeding frequency or amount, and consider adding a high-quality filter media to remove excess nutrients.
Insufficient Cycling: A newly set up tank can experience cloudy water due to the initial bacterial bloom. This is a normal process, but it can be accelerated by adding beneficial bacteria supplements or seeded media from an established tank. You should monitor water parameters, and perform regular water changes to maintain stability.
Poor Water Circulation: Inadequate water circulation can lead to stagnant areas, causing bacterial growth and cloudiness. Ensure that powerheads or circulation pumps are installed and functioning correctly. Rearrange decorations or plants to improve water flow and reduce dead spots.
What Is the Best Tool to Clean an Acrylic Fish Tank?
Maintaining a clear and healthy acrylic aquarium requires the right tools for the job.
You’ll want to avoid using abrasive materials that can scratch the acrylic surface, as this can lead to a dull and damaged tank.
Instead, opt for soft, lint-free cloths or specialized acrylic cleaners that are designed specifically for cleaning acrylic aquariums.
A soft-bristled algae scraper or a magnetic algae scraper is also a great tool to have on hand. These tools allow you to gently remove built-up algae and debris from the glass without scratching the surface.
When it comes to cleaning the gravel or substrate, an aquarium vacuum is the way to go. This tool allows you to remove accumulated waste and uneaten food without stirring up excessive debris.
Other essential tools include a gravel rake, a water test kit, and a filter media cleaner.
Best Fish Tank Cleaner: Aquarium Vacuum Gravel Cleaner
Conclusion
You’ve made it to the end of your acrylic aquarium cleaning journey.
Now, your tank will shine like a million diamonds, sparkling with crystal-clear visibility.
By following these simple steps, you’ve conquered the toughest algae growths and haziest of waters.
Remember, regular maintenance is key to keeping your aquarium in pristine condition. Stay on top of it, and you’ll be enjoying a stunning underwater world for years to come.